World bosses are a big part of any MMO and Star Wars: The Old Republic is no exception. You’ll need a full raid party to beat these bosses so be prepared to work together as a team. Throughout the galaxy, you’ll encounter several planets with these raid level bosses and they do yield some nice loot and a codex entry. After taking down a boss the reset timer usually last around two to three hours for each.
All of the bosses in SWTOR have what is called a “Terrifying buff” that will yield any companions incapacitate as soon as you initiate the fight. For the most part the bosses will be stronger as you move up in levels. For this reason, if you’re having trouble with the lower level ones, you may need to build up more before tackling the higher-level raid bosses.
Here are the planets in STWOR where you’ll find the world bosses and a brief description of each:
The First
The First is a level 18 boss found on planet Dromund Kaas. You’ll find him near the Heroic area (around coordinates 220, 1600) and he’s one of the easiest world bosses you’ll meet. However, he can dish out some damage at about 20% when he goes into his enraged state, so be ready or he might catch you off guard.
SD-0
SD-0 is a level 18 boss found on planet Coruscant (coordinates 2500, 1000) and he’s basically the Republic version of The First world boss. However, he is a little stronger when he goes into his enraged state, so you’ll need to beat him before this happens if you can. Unlike The First, he will enrage at the 8-minute mark instead of at a certain health mark.
You’ll need two tanks to switch back and forth when fighting SD-0 because he has a stackable debuff that will increase the tank’s damage by 5%. Once they start adding up on one tank, you can switch to the other one while they wear off.
Subject Alpha is a level 21 boss found on planet Taris (Coordinates -460, 720) and you’ll need to spread out your players to help ease the damage caused by his AoE gas attack. This attack is randomly aimed at a member of your group. When it hits someone, it will also damage anyone standing near that player.
You’ll need two tanks to beat this world boss because his main attack is randomly tossing your tank into the air, resetting the agro table. When the main tank is killed, you’ll need a backup to fill in until the main one is ready to rejoin the fight.
Grandfather
Grandfather is a level 22 boss found on planet Balmorra (coordinates -1920, 1325) and he’s well known for his frontal swipe style attack. For this reason, everyone in your group except the tank should stay beside or behind the boss.
His other attack is the stomp style AoE and if you’re within melee range of this attack, you’re going to receive a good amount of damage. The healer can use AoE heals to counteract these attacks and they are more effective when the DPS are close together. However, any ranged in your group should keep their distance.
It’s a good idea to have several good and well-equipped DPS when you go up against Grandfather because you’ll need to take him down before the 10-minute mark where he goes completely berserk and kills off your raid.
Trapjaw
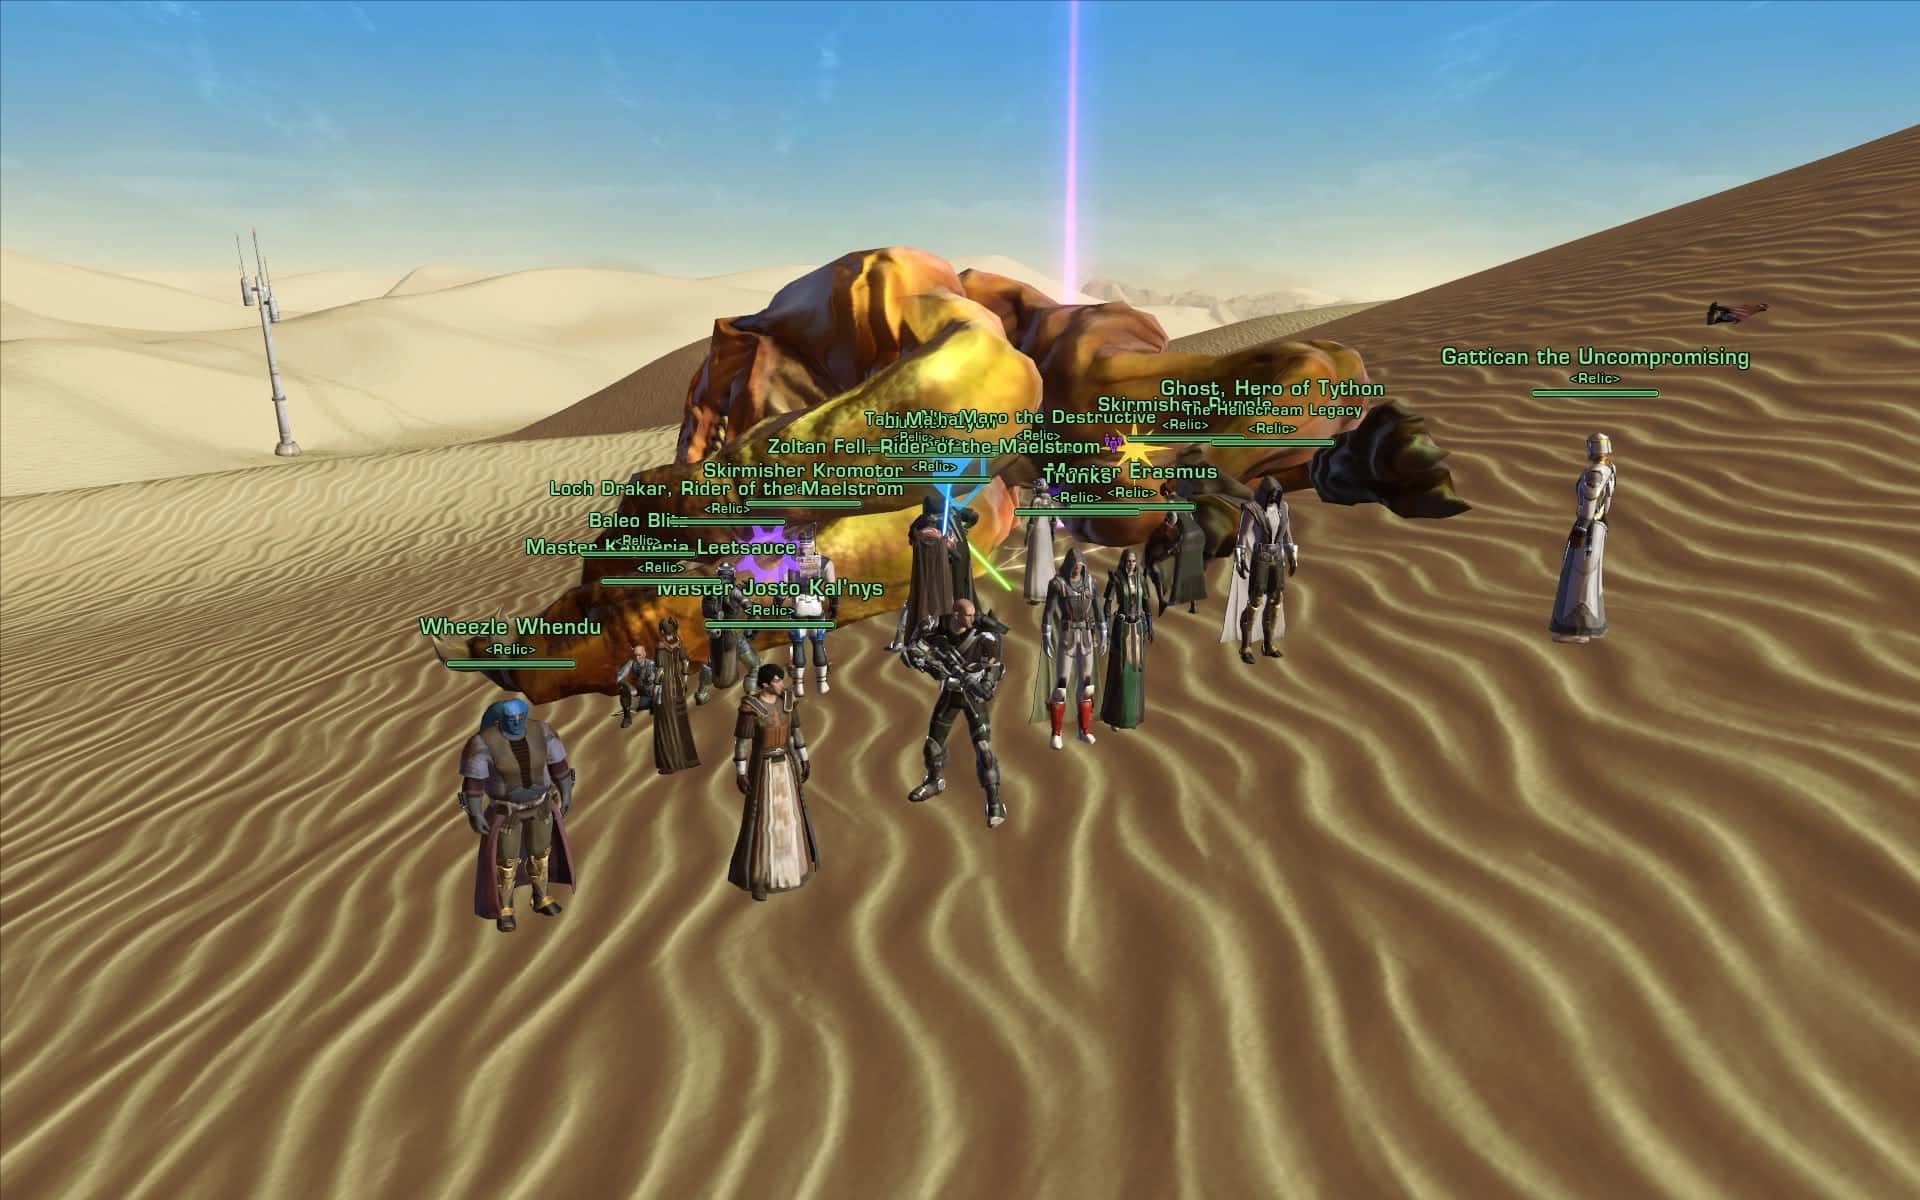
Trapjaw is a level 30 boss found on planet Tatooine (coordinates 1773, -868) and you’ll need to select the skull in the desert to start the fight. He can deal out a lot of damage even though you’ll be engaged in the standard tank and spank fight with him.
You’ll need 3 or 4 healers and two tanks when you go up against this world boss. You should keep your group spread out to avoid his major attack that randomly hits one of your players for a 2-second stun, which delivers a high amount of damage. It will also affect anyone within a 10m of the attack, so if you’re close together, he could wipe you out fast.
Battledroid R4-GL
Battleroid R4-GL is a level 32 boss found on planet Nar Shaddaa (coordinates 2050, 2825) and you’ll need to be prepared for a fight when you go up against him. He has two main abilities. The first one is the Repeater Cannon. He will aim some very powerful attacks directly at your tank until it beats him completely down. You need to stop this attack as soon as possible because once R4 gets to 50% you can’t interrupt it.
His second ability is the Incendiary cannon that puts a healing debuff and a DoT on random players within your group. Healers need to be aware of the other players and keep an eye out for the team members affected by this move.
Speed is your best defense against this boss to try to take him down quickly. If you linger too long, your healer may become overwhelmed and you’ll end up being defeated. Your DPS and healers need to be paying attention and pushing hard when fighting Battleroid R4-GL.
Ulgo Siegebreaker
Ulgo Siegebreaker is a level 35 boss found on planet Alderaan (coordinates 300, -250) and he is an AoE heavy boss with three abilities, which are Bombardment, Fusion Missile, and Plasma Pulse. The secret to beating this boss is to keep him focused on the tank while everyone else spreads out behind him.
The Plasma pulse will seek out the player with the highest amount of agro. Try to interrupt it as soon as you can to reduce the damage it causes to your team. The Fusion Missile will damage anyone within the immediate area where it hits, so be alert.
When Ulgo sends out his Bombardment attack, you’ll see a red reticule on the ground for a few seconds before that spot is bombarded with bombs. When you see the red reticule, get as far away as you can as fast as you can to avoid being hit by the bombs.
Rogue Cartel Warbot
Rogue Catel Warbot is a level 38 boss found on planet Quesh (coordinates 300, 220) and you’ll need to watch out for Experimental Explosives and Lightning with this one. When he uses the Experimental Explosives, he throws out a type of sticky grenade at a random member of your team. Anyone near the targeted player will also receive a lot of AoE damage from this attack.
When he throws out his Lightning attack reticules will show up on the ground where the attack will hit. This attack can be very damaging so if you see the reticules near you, run out of the way before the lightning hits. If you can avoid his attacks, you can take him down rather quickly.
The Ancient One
The Ancient One is a level 38 boss found on planet Taris (coordinates -820, -725) and his main attack is a large powerful shockwave. This attack has a very strong knockback effect but if you have someone standing by ready, you can interrupt it. The other thing you need to be prepared for is “adds”. These will spawn each time you take about 10% of The Ancient One’s health down. They are the normal strength MoBs but they seek out and swarm the healers, who’ll need help to keep from becoming overwhelmed.
Snowblind
Snowblind is a level 44 boss found on planet Hoth (coordinates 400, 1150) and you’ll need to have some high quality DPS along with your group before going up against him. Keeping your team spread out over the area is your best defense with you tank(s) in front of the boss. His main attack is a cleave that sweeps the area directly in front of him that can cause major AoE damage.
His second attack is the Whiteout. When he delivers this attack, the whole area will be covered in a snowstorm that slowly drains away the health of your team members. You cannot avoid this attack so your healers are vital in the survival of the group. To make it easier on your healers, you should have a spot designated where you can group together during the storm and this will make the AoE heals more effective.
The third thing that you need to look out for with this World Boss is the timed enrage that greatly increases the amount of damage he can do to your team. In addition to his attacks, this is a populated heroic area so you’ll have to clear out the MoBs that get in your way when you’re fighting Snowblind. Make sure your team is aware of this very important piece of information.
Gargath
Gargath is a level 49 boss found on planet Hoth (coordinates -2225, 500) and this is one of the hardest to beat. He has one very powerful Earthquake attack that he will use repeatedly. It will damage anyone that falls within the area where the attack hits. Look for the broadcast that says, “Gargath is expanding his focus beyond his main target” and you’ll know the attack is on the way. Everyone needs to get away from the targeted area as your tank tries to lead the boss away to avoid being killed. If you can keep this up and stay alive, you’ll eventually defeat Gargath.
The Primal Destroyer
The Primal Destroyer is a level 50 boss found on planet Belsavis (coordinates -450, -3450) and he can be very difficult to beat. This World Boss has three MoBs that will spawn when he loses about 10% of his health. One of them will regenerate health, one reduces the healing effectiveness of your team and the last one will dish out a lot of AoE damage. Your team needs to stay focused on the boss, so a good strategy is to kite all three of the MoBs away and deal with them after defeating The Primal Destroyer.
Nightmare Pilgrim
Nightmare Pilgrim is a level 50 boss found on planet Voss (coordinates 0, 1300) and to start this fight, you need to select the glowing blue tablet. You’ll need three tanks to defeat this one because he’s a bit more complicated than the others. Once activated, the world boss and his huge pet Dog will spawn on the north and south end of the stone.
One tank will need to attack Pilgrim while the other two engage in a battle with the Dog until he is defeated. It will take two tanks to defeat the Dog because he has a very strong swipe attack gore and he will put a debuff on the tanks that will make his gore attack even stronger. This attack has a one second cast time and it can be interrupted if your team works together and a few of them are ready to interrupt the attack. The Dog also has a single target AoE attack that can dish out a lot of damage to anyone it hits.
Like most world bosses, Pilgrim has the frontal cone AoE attack. Therefore, the tank engaging him needs to try to turn him away from the rest of the members. It’s not as powerful as the gore attack the Dog sends out but it can still do a lot of damage. His second attack appears as reticules that scatter across the ground. Avoid the reticules and you’ll avoid being hit by this multi-target AoE attack.
Pilgrim has one more major attack to be aware of. He can place a Blood Mark debuff on several players randomly while locking himself down in a reflective shield. If you’re affected by the Blood Mark and you’re fighting the Dog, stop or you will die instantly. You’ll need to switch and fight Pilgrim when he drops his shield. You can resume fighting the Dog when this attack has wore off.
Keep in mind that you need to take down Nightmare Pilgrim in about six and a half minutes to keep his enrage timer from kicking in. Before your group heads out to fight Nightmare Pilgrim, make sure every member of your raid is outfitted with Alpha Wave Inhibitors. You can get these from the Daily Commendations Vendor or you can have an Artifice/Armstech craft one. These are necessary to protect you from the extremely powerful AoE attacks that could wipe you out with just one hit.