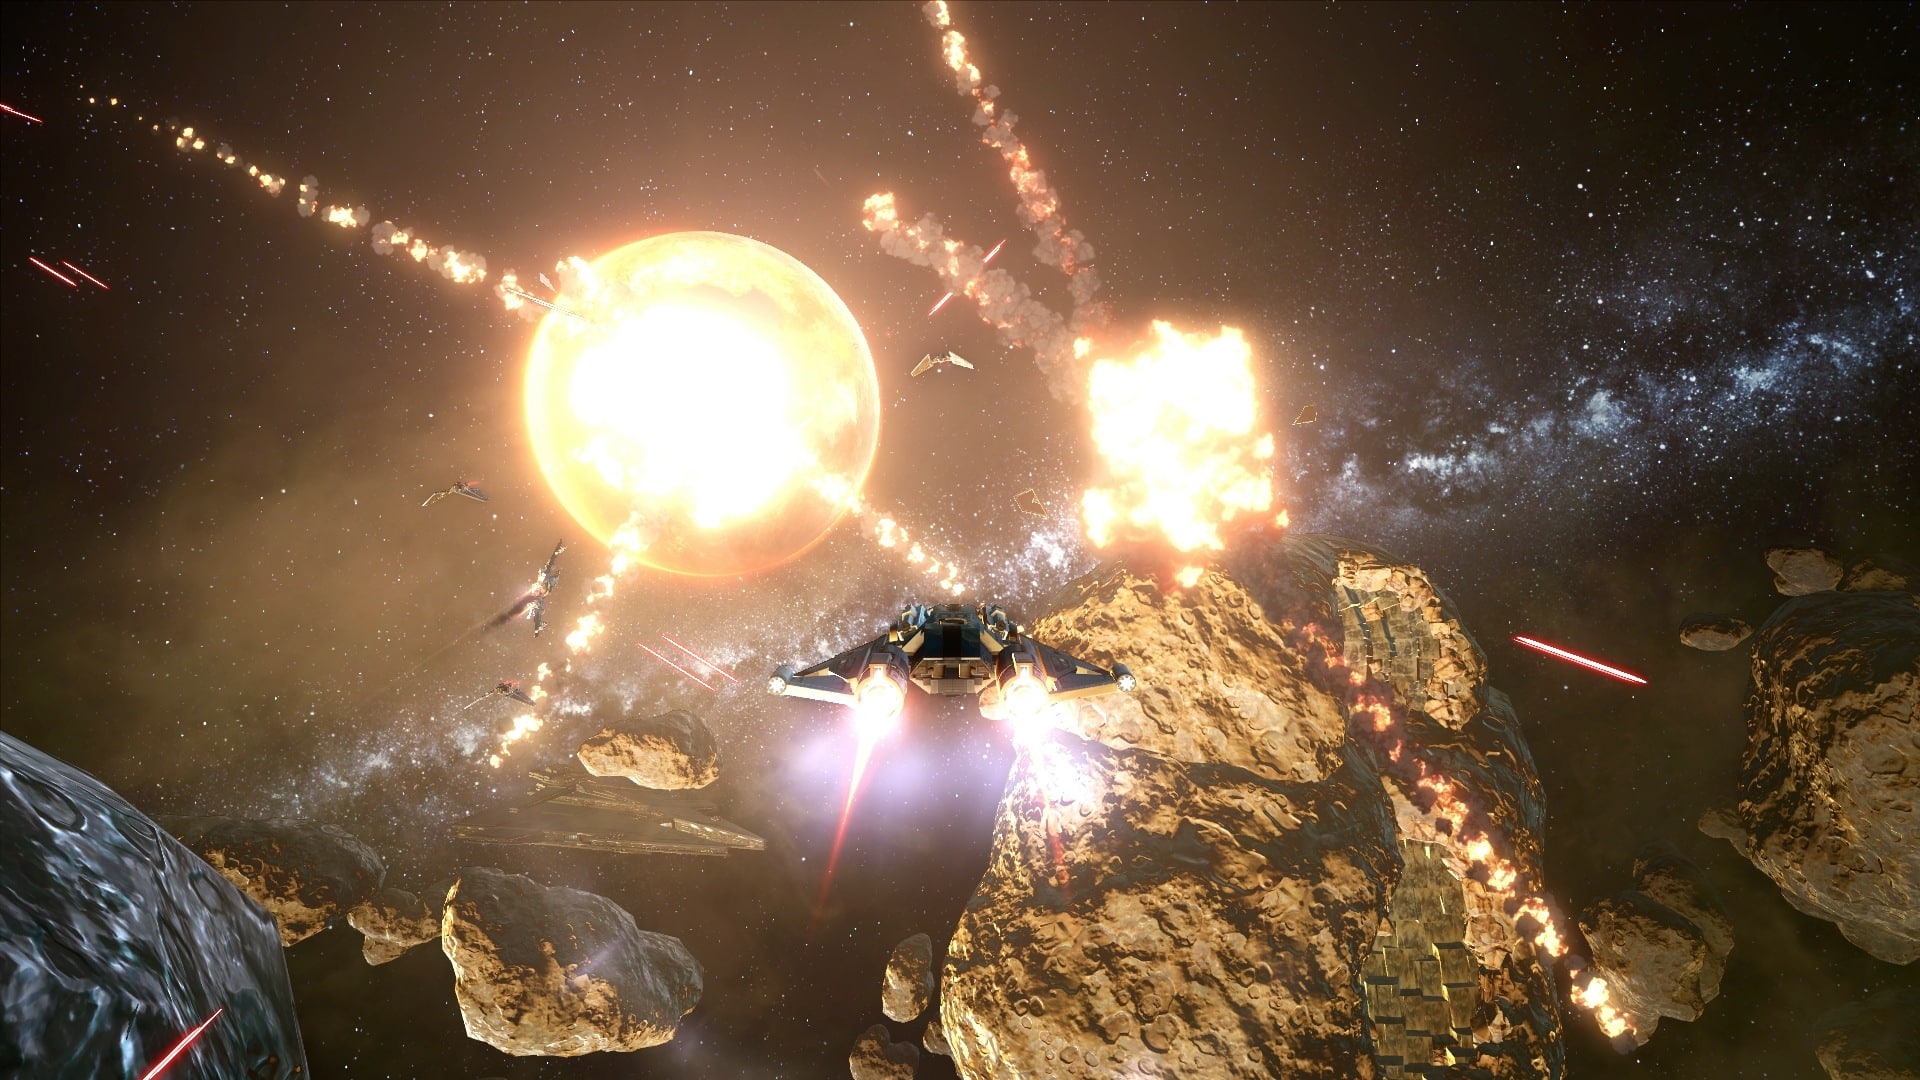
This SWTOR guide is designed to give you a general idea of how to build a Blackbolt/NovaDive Galactic Scout Starfighter. You can use different components when building your Scout but this will give you a general idea of how to get started.
Each of the following components are discussed below: Engine, shields, sensors, thruster, systems, capacitor, armor, primary and secondary weapons.
Engine Maneuvers
You can choose between the four different engine maneuvers listed below. All of them have 15 second recharge on use and when activated, they will all evade lock-on missiles. They also help you elude direct blaster fire by up to 30 percent for three seconds.
- The Barrel Roll– Allows you to roll the ship 360-degrees forward, which helps move you forward a long distance but you do need enough space to execute the roll so you don’t hit anything during the move and self-destruct. This maneuver is unlocked by default.
- The Power Dive- Allows you to make a 90-degree vertical turn and you need 1500 ship requisitions to unlock this maneuver.
- The Snap Turn– Allows you to make a 180 degree lateral turn quickly which helps to give you an edge when being chased by enemy ships. You need 1500 ship requisitions to unlock this maneuver.
- The Koiogran Turn– Allows you to make a 180-degree vertical turn and you can use it even in tight spaces. You need 1500 ship requisitions to unlock this maneuver.
The upgrades for each maneuver are the same and are as follows:
- Tier 1 Upgrade– Reduces the amount of power needed to activate the maneuver by 15percent.
- Tier 2 Upgrade– Reduces the cool down time by 10 seconds.
- Tier 3 Upgrade– Increases the engine speed by 10 percent or it increases the turning rate of the ship by 10 percent. You choose between the two when upgrading.
Blackbolt/NovaDive Shields
There are three types of shields to choose from when building your Scout Starfighter. Consider which one will suit your particular needs the best based on the type of gameplay you enjoy the most.
Distortion Field
Created with unidentified alien technology the “Colicoid Creation Nest’s Membrane defense system” shield is weaker than the others but it will provide your ship with a constant evasion rating boost. It’s also equipped with a function that allows you to create a huge temporary evasion boost when activated. Distortion field shield stats include: Shield power capacity of -30 percent, evasion +15 percent and an active ability that allows you to increase evasion by 65 percent for 3 seconds with a 30 second cooldown. You’ll need 1500 ship requisitions to unlock this shield.
The Cygnus PulseScreen Quick-Charge Shield
This shield is unlocked by default and is limited when it comes to strength but it does regenerate very quickly. The newest models are equipped with an emergency boost of power that will allow the pilot to restore much of the energy back to the shields instantly. Shield stats include: Overall shield capacity = 30 percent, engine power recently consumed Regen Rate = +45 percent and the shield power Regen Rate = +45 percent. When activated, they automatically recharge 30 percent of the ship’s shields.
Engine Power Converter
The “Cygnus Burner deflector shield” is considered average compared to the others when it comes to protecting your ship but the engine power converter is exclusive to the Blackbolt/NovaDive scout and it will not decrease the overall shield capacity. However, 20 percent of the shield’s power will be transferred to the engine power pool.
You will need to avoid combat when using the power converter unless you can catch the enemy ship by surprise or they’re otherwise engaged in a battle against friendly ships. If speed is a priority for you, you’ll love this one and you’ll need 1500 ship requisitions to unlock it. Combine it with Booster Overcharge, use engine power conversion (F3) when you can and it would be difficult for any ship to catch you.
Shield Upgrades
The shield upgrades consists of three different tiers.
Distortion Field:
- Tier 1 Upgrade- While in effect, it will increase the chances of you missing enemy fire by 10 percent.
- Tier 2 Upgrade– Reduces the cooldown time for the ability by 10 seconds.
- Tier 3 Upgrade– Increases ability duration by 3 seconds or the distortion field will disable the enemy’s missile lock on you. You choose between the two when upgrading.
Quick-Charge Shield:
- Tier 1 Upgrade– Increases shield power pool regeneration by 6 percent.
- Tier 2 Upgrade– Increases shield power pool regeneration by 15 percent.
- Tier 3 Upgrade– When taking damage, shields will regen at 60 percent or you can reduce the cooldown time by 10 seconds. You choose between the two when upgrading.
Engine Power Converter:
- Tier 1 Upgrade-Reduces the cooldown time for the ability by 3 seconds.
- Tier 2 Upgrade– Reduces the cost of using shield component abilities by 10 percent.
- Tier 3 Upgrade– Increases shield power pool or the engine power pool by 25 percent. You choose between the two when upgrading.
Blackbolt/NovaDive Sensors
The range sensors are the default option and it allows you to detect enemy ships further away than normal. Stats include +2000m sensor detection range and +2000m sensor focused detection range. There are 3 upgrade tiers available and each one will increase the sensor range by an additional 1000m.
The communication sensors make it possible for you to send a message to friendly ships that would normally be out of range. It’s best used when working with a team and you’ll need 1000 ship requisitions to acquire it. Stats include +4000m communication sensors. Each upgrade tier will increase the communication range by an additional 2000m.
Dampening sensors make it possible to get closer to the enemy without detection and you’ll need 1000 ship requisitions to acquire it. If pursued by the enemy, it also makes it easier to lose them since they won’t be able to detect you once you get out of range. Stats include +3000m sensor damping range. Each upgrade tier will decrease the range you can be detected by the enemy an additional 1500m.
Blackbolt/NovaDive Thruster
There are four different types of thrusters to choose from and each one is described below.
The Regeneration Thruster gives more engine power and the stats include an engine power regen rate and recently consumed regeneration rate of +8 percent. You’ll need 1000 ship requisitions to unlock it. There are 3 upgrade tiers available and each one will increase the engine power pool regeneration by an additional 4 percent.
The Turning Thrusters are best used when dogfighting and the stats include a turn rate modifier of +4 percent. You’ll need 1000 ship requisitions to unlock it. Each upgrade tier will increase the turning rate of the ship by an additional 2 percent.
The Speed Thrusters are great to have when you’re trying to get away from the enemy quickly and it’s unlocked by default. The stats include engine speed of +4 percent and you’ll need 1000 ship requisitions to unlock it. Each upgrade tier will increase the engine speed by an additional 2 percent.
The Power Thrusters give you more engine power and the stats include an engine power capacity of +8 percent. This one is unlocked by default and each upgrade tier will increase the engine power pool by an additional 4 percent.
Blackbolt/NovaDive Systems Abilities
There are three systems abilities available. The Booster Recharge is unlocked by default, it will regenerate 5 percent of your engine power per second for 6 seconds and it recharges in 60 seconds. Since it refills your engine’s power pool so quickly, you have a lot of mobility to outrun your enemy.
The Targeting Telemetry is the only offensive system ability for this scout. It will reveal any clocked enemy within 3000m and it recharges in 45 seconds. It also increases your sensor range by 5000m for 10 seconds, critical chance by 5 percent and weapon accuracy by 10 percent. You’ll need 2000 ship requisitions to unlock it.
The Sensor Beacon detects enemies when you drop a beacon and transmits their location to any team members nearby. It last for 180 seconds unless the enemy destroys it first and you can only active one beacon at a time. It also reduces the evasion of enemy ships within 5000m by 10 percent. You’ll need 2000 ship requisitions to unlock it.
System Abilities Upgrades
The systems abilities have 5 tier upgrade options.
Booster Recharge Upgrade:
- Tier 1 Upgrade– Reduces cooldown time by 5 seconds.
- Tier 2 Upgrade– Regenerates 50 percent more power when active.
- Tier 3 Upgrade– Increases the duration of the booster recharge by 2 seconds.
- Tier 4 Upgrade– Permanently increases engine power regeneration or engine power capacity by 10 percent. You choose between the two when upgrading.
- Tier 5 Upgrade– Instantly refills engine power pool by 20 percent or the weapon and shield power will regenerate slowly when booster recharge is active. You choose between the two when upgrading.
Targeting Telemetry Upgrade:
- Tier 1 Upgrade– Reduced ability cooldown time by 15 seconds.
- Tier 2 Upgrade– Increases sensor radius by 5000m and the enemy cloaking dispel radius by 2000m.
- Tier 3 Upgrade– Increases the targeting telemetry duration by 5 seconds.
- Tier 4 Upgrade– Reduces the targets within the dispel radius by 5 percent or it increases evasion by 8 percent for the duration of the ability. You choose between the two when upgrading.
- Tier 5 Upgrade– Increases the critical magnitude by 25 percent and critical chance by an additional 10 percent or it increases the primary weapon range by 15 percent for the duration of the ability. You choose between the two when upgrading.
Sensor Beacon Upgrade:
- Tier 1 Upgrade– Reduces cooldown time by 30 seconds.
- Tier 2 Upgrade– Increases sensor and communication radius by 5000m.
- Tier 3 Upgrade– Increases the lifespan of the sensor beacon by 2 minutes.
- Tier 4 Upgrade– Probe reduces the enemy’s accuracy by 10 percent or it reduces the sensor radius of the enemy by 5000m and their communication by 2500m. You choose between the two when upgrading.
- Tier 5 Upgrade– You can activate 2 sensor beacons at once or increase the hull strength by 20 percent and damage reduction by 50 percent. You choose between the two when upgrading.
Blackbolt/NovaDive Capacitor
The range capacitor is the default choice and the stats include +4 percent to close, mid and maximum range. There are 3 upgrade tiers available and each one will increase the primary weapon range by an additional 2 percent.
The frequency capacitor stats include +6 percent rate of fire. Each upgrade tier will increase the primary weapon rate of fire by an additional 3 percent.
The damage capacitor stats include +4 percent weapon damage. Each upgrade tier one will increase the primary weapon damage by an additional 2 percent.
Blackbolt/NovaDive Armor
The lightweight armor is the default option and it increases your ship’s evasion by 4 percent. There are 3 upgrade tiers available and each one will increase the chances of the enemy missing you when attacked by an additional 2 percent.
The deflection armor increases the ship’s damage reduction by +8 percent and you’ll need 1000 ship requisitions to unlock it. Each upgrade tier will reduce the amount of hull damage by an additional 4 percent.
The reinforced armor increases the ship’s hull HP by +8 percent max health and you’ll need 1000 ship requisitions to unlock it. Each upgrade tier will increase the amount of damage your hull can take by an additional 4 percent.
Blackbolt/NovaDive Primary Weapons
The Rapid-fire Laser Cannon is the default cannon and it’s a great starter weapon. The weapon power draws 16 rounds per second and it fires 240 RPMS, has a limited range of 4000m base and produces approximately 100 to 200 dmg per hits.
The BlasTech’s Spitfire rapid-fire laser cannons have low power consumption and produce an unidentified number of bolts per second continuously. However, it is limited to short-range fights due to its poor accuracy and damage fall-off.
The Light Laser Cannon fires approximately 200 to 300 dmg per hits with a range of 4000m and it fires 180 RPMS. It also draws weapon power of 21 rounds per second. It’s great for close range fighting and to unlock it you’ll need 2000 ship requisitions.
The Laser Cannon fires at 150 RPMS and has a lower DPS number than the other options listed above. It also has 5000m max range and the weapon power draw ranges between light to rapid-fire at 19 rounds per second. The BlasTech standard issues are very effective and reliable and the BlasTech HMC-15 is accurate when firing at medium range and it does moderate damage. You’ll need 2000 ship requisitions to unlock it.
Primary Weapons Upgrades
The rapid fire and light tier upgrade options are the same and are as follows:
- Tier 1 Upgrade– Increases damage caused by the blaster by 5 percent.
- Tier 2 Upgrade– Reduces the cost of using blasters by 10 percent.
- Tier 3 Upgrade– Increases the blaster rate of fire by 8 percent.
- Tier 4 Upgrade– Increases critical hit chances by 8 percent or firing arc by 2 deg and reduces the penalty for weapon tracking by 5 percent. You choose between the two when upgrading.
- Tier 5 Upgrade– Increases the damage caused by the blaster to the hull of the enemy ship by 16 percent or the damage caused by the blaster to the enemy ship’s shields by 18 percent. You choose between the two when upgrading.
The regular laser cannons tier upgrades are as follows:
- Tier 1 Upgrade– Increases the blaster rate of fire by 8 percent.
- Tier 2 Upgrade– Increases the blaster range by 5 percent.
- Tier 3 Upgrade– Increases the damage caused by the blaster by 5 percent.
- Tier 4 Upgrade– Increases the critical hit chances by 8 percent or reduces the cost of using the blaster by 10 percent. You choose between the two when upgrading.
- Tier 5 Upgrade– Increases the blaster damage to the hull of the enemy ship by 16 percent or the blaster damage to the enemy ship’s shields by 18 percent. You choose between the two when upgrading.
Blackbolt/NovaDive Secondary Weapons
The Rocket Pods are the default secondary weapons and they have limited ammunition and do not have the ability to lock onto the target but they are easy to maneuver. They have 6000m range and no cooldown time. They have 20 percent shield piercing, limited speed of 90 RPMS and must be fired straight ahead.
The Sabotage Probe will lock onto your target and make them more vulnerable to the missile and blaster fire attack from your team. It will pierce the shield by 100 percent and do minimal hull damage when locked on. It takes 14 seconds to reload and 3.0 seconds to lock onto the target. The targeted ships cannot turn but the pilot can boost away when under the probe’s effect, so be prepared in case they decide to take off so you can pursue them. The GSI’s LOS-0 sabotage probe droid disables the targeted ships systems, including their maneuvering thrusters, very quickly while doing minimal hull damage while it’s locked on. You’ll need 2000 ship requisitions to unlock it.
The Thermite Torpedoes have short range, slow speed, long lock-on time and a very narrow lock-on circle. However, the LC-9 Thermite Torpedoes offers longer lock-on range and strike and they can do a lot of damage to the hull of an armored starship. The superheating effect can even weaken sections of the hull that was not directly hit temporarily. You’ll need 2000 ship requisitions to unlock it.
Secondary Weapons Tier Upgrades
The secondary weapons have 5 tier upgrade options.
Rockets Pods:
- Tier 1 Upgrade– Missiles damage ignores 100 percent of enemy armor.
- Tier 2 Upgrade– Increases missile rate of fire by 8 percent.
- Tier 3 Upgrade– Increases the shield piecing capabilities by 10 percent.
- Tier 4 Upgrade– Increases the firing arc by 4 degrees or the ammunition capacity by 8. You choose between the two when upgrading.
- Tier 5 Upgrade– Increases your rocket range by 10 percent or your rocket pods will do additional damage to its target for 5 extra seconds. You choose between the two when upgrading.
Sabotage Probe:
- Tier 1 Upgrade-Reduces lock-on time by 0.3 seconds.
- Tier 2 Upgrade– Increases the sabotage probe duration for one second.
- Tier 3 Upgrade– Reduces the cooldown ability by 5 seconds.
- Tier 4 Upgrade- Increases the range of the sabotage probe by 500m or while the sabotage probe is active, the target will not be able to use the engine component ability. You choose between the two when upgrading.
- Tier 5 Upgrade– While the Sabotage Probe is active, it reduces the engine speed of the target by 35 percent or reduces the power regeneration rates of the target by 30 percent. You choose between the two when upgrading.
Thermite Torpedoes:
- Tier 1 Upgrade– Reduces the lock-on time by 14 percent.
- Tier 2 Upgrade- Increase the armor debuff duration time by 10 seconds.
- Tier 3 Upgrade– Increases the Thermite Torpedoes damage by 5 percent.
- Tier 4 Upgrade– Increases the firing arc by 4 degrees or the missile speed by 100 percent. You choose between the two when upgrading.
- Tier 5 Upgrade– Increases the ammunition capacity by 4 percent or it applies 15 percent more plasma damage over 6 seconds. You choose between the two when upgrading.
Don’t forget to check out constantly growing list of guides for Star Wars: The old republic


