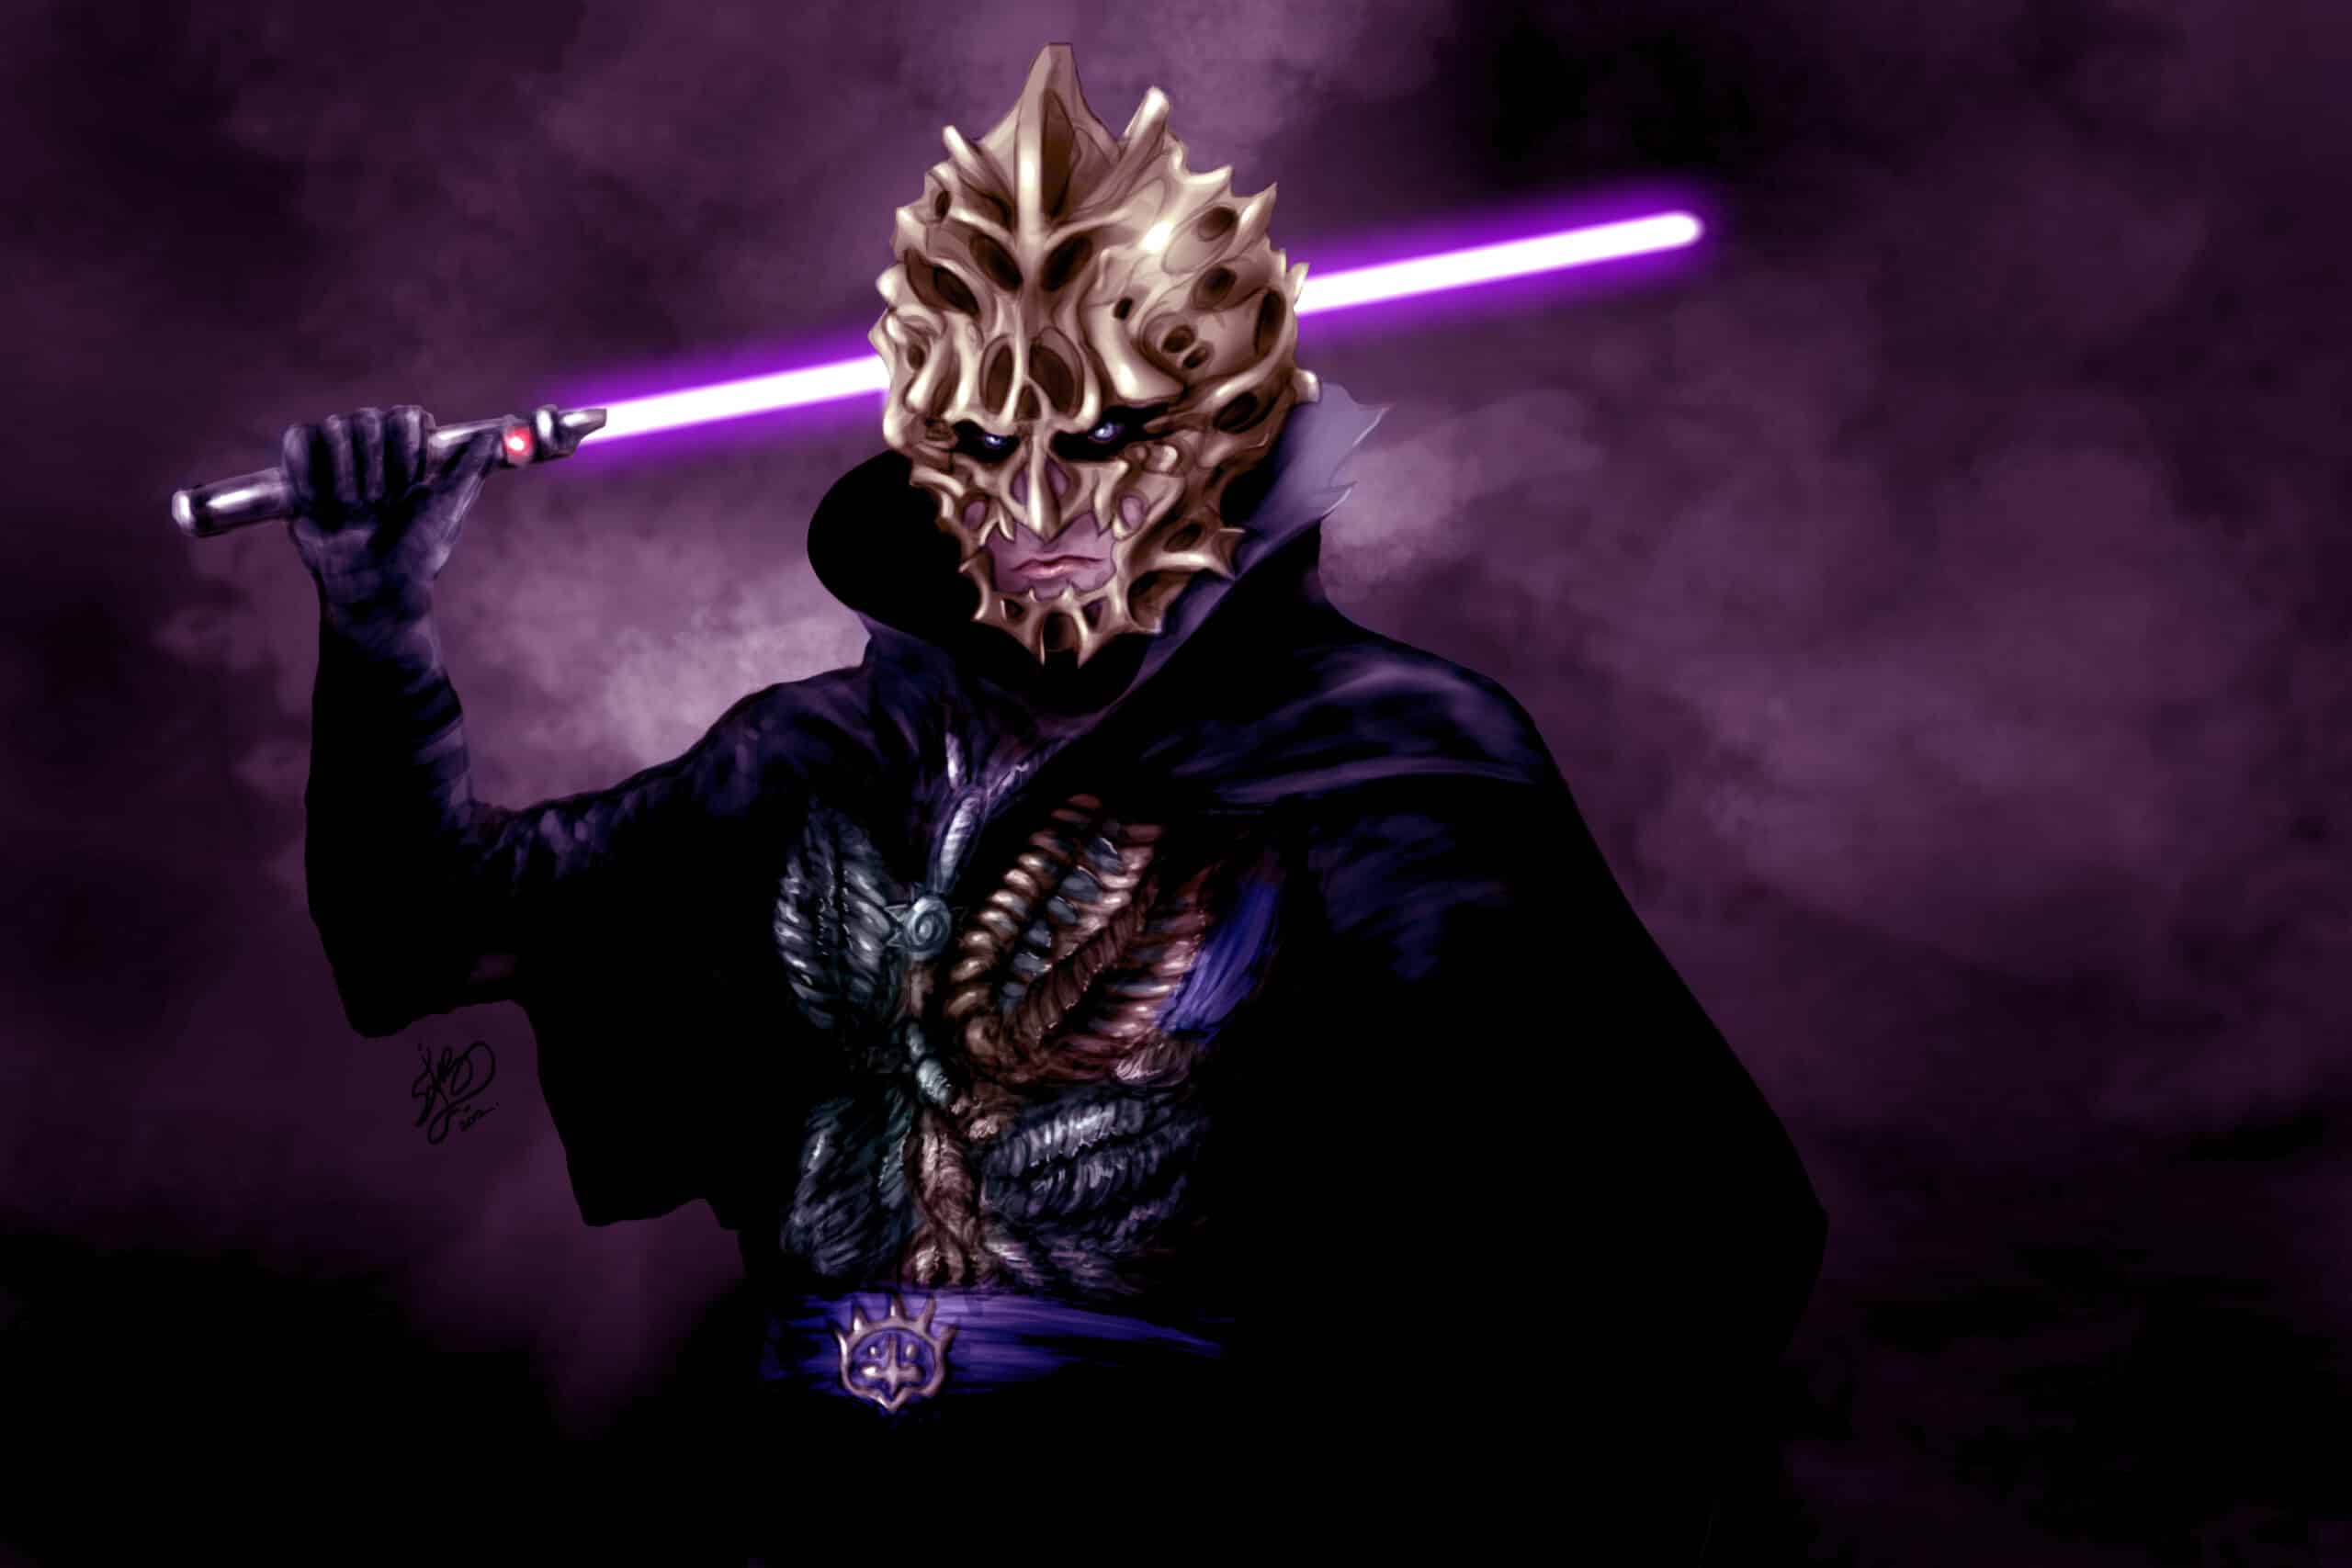
The upcoming SWTOR Expansion – ‘Onslaught’ – will introduce a many changes for each Class in the game. Players will among other things experience new abilities, Set Bonuses, and Tactical items.
To help explain it all, The developers over at BioWare are releasing a series of articles featuring each Advanced Class’s new ability, as well as new Set Bonuses and Tactical items.
They will also present various combat scenarios to show how these changes will mesh together. In today’s article they are showcasing the Sith Sorcerer and Jedi Sage Advanced Classes! Check it out:
Sorcerer
Let’s take a look at the new ability for Sorcerers!
Volt Rush – Deals energy damage to your target and energizes you for up to 5 seconds. The Energize effect can stack twice, with each stack increasing Volt Rush damage by 30%. The ability has 3 charges and a recharge timer of 10 seconds.
The “charge” system is something new that a handful of abilities will utilize once the ‘Onslaught’ Expansion launches. Abilities like Volt Rush can store charges, meaning these abilities can be used multiple times before going on cooldown. When the ability is activated it will consume one charge, which will then recharge based on the ability’s recharge timer.
For example, Volt Rush has three charges; once you activate the ability, there will be two charges left, and the third one will start to recharge. If Volt Rush is activated again, another charge would be depleted, but the recharge process for this charge won’t start until the previous one finishes.
Alongside a new ability, Sorcerers will receive a bevy of Set Bonuses and Tactical items. Set Bonuses are extra effects players can get for equipping a certain armor set. For instance, wearing two, four, or six pieces of a set will grant players progressively more powerful boosts. These can be in the form of increased ability potency or an added effect.
Tacticals are slightly different from Set Bonuses. While Tacticals also change how some abilities function, they come in the form of a new gear type. They don’t have actual stats on them like Power, Mastery, or Critical Rating; instead, they augment how an ability will function. Let’s look at some examples of how a Set Bonus and Tactical combination can alter the gameplay of the three Sorcerer Disciplines: Corruption, Lightning, and Madness.
Corruption
“The dark side of the Force provides many benefits, including the ability to ward off death itself. By conjuring a series of arcane Force abilities, the Corruption Sorcerer can sustain injured allies, allowing them to fight on with the power of the dark side’s twisted gift.”
Here’s an all too familiar scenario that Corruption Sorcerers find themselves in. They want to do an Operation run as one of the healers. Going in, they know that some of their group members get a case of tunnel vision with their DPS desires and don’t always move out of enemy attack paths when they should. Here’s a Set Bonus and Tactical combination that can make healing easier for a Corruption Sorcerer.
Set Bonus: “Empowered Restorer”
(2 Piece Bonus) – +2% Power
(4 Piece Bonus) – Dark Heal’s critical chance is increased by 10%.
(6 Piece Bonus) – Dark Heal heals for 20% more if you have a Consuming Darkness or Reverse Corruption stack and consumes 1 stack upon use.
Tactical: “One For All”
Revivification heals more for each ally it affects.
Our intrepid healer and their group are getting ready to tackle the Titan 6 Boss fight from the Scum and Villainy Operation. During the first phase of this boss, our Corruption Sorcerer will need to use a variety of abilities. Healers are in a constant battle of keeping everyone alive without burning through all their Focus before the boss is dead.
One of the mechanics to help Corruption Sorcerers with this juggling act is the Consuming Darkness ability. This grants an immediate 40 Force, but applies a Weary debuff on the caster, reducing their Force regeneration for a period of time. This is where the “Dark Consumption” Set Bonus comes in. If our healer uses Dark Heal immediately after Consuming Darkness, not only will the Weary debuff be removed, but Dark Heal will heal more, allowing our healer to be bolder with their ability usage!
Once the boss hits 20% health, it starts using two abilities that constantly damage everyone in the group, so our Sorcerer needs to be ready with some intense healing. Normally, Revivification heals everyone within an area over a period of time–but thanks to the “One For All” Tactical we chose, it now gains bonus healing per person in the area, making the job of keeping everyone alive during this prolonged phase of group-wide damage a lot less stressful for our healer.
Lightning
“Of all the dark arts of the Sith, little can match the spectacle and devastation of Force lightning. Summoning intense discharges of pure Force energy, the Lightning Sorcerer overwhelms enemies with punishing damage from a distance, leaving them shaken and vulnerable – if not dead.”
A majority of Lightning Sorcerers love inflicting their fair share of group damage, so let’s lean into that for this next example. Our up and coming Lightning Sorcerer wants to go about their day farming some enemies. To execute this plan more efficiently, they pick out the following Set Bonus and Tactical to maximize group damage potential.
Set Bonus: “Endless Offensive”
(2 Piece Bonus) – +2% Power
(4 Piece Bonus) – Volt Rush deals 10% more damage.
(6 Piece Bonus) – Energize now stacks up to 3 times. Force Speed immediately recharges two Volt Rush ability charges.
Tactical: “Elemental Convection”
Volt Rush triggers Lightning Storm when activated. Chain Lightning gives you Volt Flux, causing your Volt Rush to arc to multiple targets for the next 10 seconds.
Here stands our example Lightning Sorcerer, in front of a swarm of enemies. With lightning crackling at their fingertips, let’s see how the synergy between the Set Bonus and Tactical plays out. Charging in, they start off with a Chain Lightning attack, hitting all targets and giving our Sorcerer the Volt Flux passive. Time to bust out that fancy new ability, Volt Rush! By using it while the Volt Flux passive is active, Volt Rush will now arc to those enemies nearby. Our Sorcerer continues using Volt Rush until the Lightning Storm passive is triggered. This passive allows the next Chain Lightning to be cast instantly, instead of after its normal cast time.
Once all Volt Rush charges are depleted, the Lightning Sorcerer still has an ace in the hole to finish this off – Force Speed. Using Force Speed at this point will instantly grant our Sorcerer two more charges of Volt Rush–perfect for finishing off any enemies still lingering around. Nothing is left standing after this devastating combination.
Madness
“Delving ever deeper into the dark side of the Force can lead to madness, but it can also lead to immense power. Attacking multiple enemies simultaneously and instilling terror in their hearts, all while sapping their very life essence from afar. The Madness Sorcerer is a dark threat unlike any other.”
We haven’t covered PvP in any of our scenarios yet, so let’s play some Huttball with our Madness Sorcerer, where scoring points is the name of the game. To further show the versatility of Set Bonuses and Tactical item combinations, let’s grab a Set Bonus available to all Inquisitors, not just Sorcerers. In fact, by going outside of the Sorcerer-only Set Bonus options, our Madness Sorcerer can put together a combination that helps their teammates score more easily!
Set Bonus: “Decelerator’s Set”
(2 Piece) – +2% Mastery
(4 Piece) – Force Slow now has 2 charges. Using Force Slow on an enemy already under the effect of Force Slow slows them by an additional 20% and extends the duration.
Tactical: “Slow Mercy”
Death Field spreads Force Slow’s effect and Force Storm does 15% more damage to targets affected by your Deathmark.
Let’s play Huttball! Both teams rush towards the objective, while our Madness Sorcerer stays on the outside of the skirmish to maintain a better view of the fight. Seeing one of their teammates make a break for the Huttball, our Sorcerer gets into position. The moment the teammate picks up the ball, the enemy team swarms them. By putting Force Slow on one enemy and then following up with Death Field, all enemies in the area become slowed thanks to the Slow Mercy Tactical. Taking advantage of the opportunity, the teammate makes a break for the goal line.
Being ever watchful, our Madness Sorcerer follows their teammate to the goal line. An enemy somehow caught up and is dashing towards the ball carrier as they near the goal. This is where our Sorcerer reveals their ace in the hole, or in this case, Decelerator’s Set Bonus. By using Force Slow not once, but twice, the enemy is practically stopped dead in their tracks with a 70% slow effect!Sage
Let’s take a look at the new ability for Sages!
Telekinetic Blitz – Deals energy damage to your target and energizes you for up to 5 seconds. The Energize effect can stack twice, with each stack increasing Telekinetic Blitz damage by 30%. The ability has 3 charges and recharge timer of 10 seconds.
The “charge” system is something new that a handful of abilities will utilize once the ‘Onslaught’ Expansion launches. Abilities like Telekinetic Blitz can store charges, meaning these abilities can be used multiple times before going on cooldown. When the ability is activated it will consume one charge, which will then recharge based on the ability’s cooldown.
For example, Telekinetic Blitz has three charges; once you activate the ability there will be two charges left, and the third one will start to recharge. If Telekinetic Blitz is activated again, another charge would be depleted, but the recharge process for this charge won’t start until the previous one finishes.
Alongside a new ability, Sages will receive a bevy of Set Bonuses and Tactical items. Set Bonuses are extra effects players can get for equipping a certain armor set. For instance, wearing two, four, or six pieces of a set will grant players progressively powerful boosts. These can be in the form of increased ability potency or an added effect.
Tacticals are slightly different from Set Bonuses. While Tacticals also change how some abilities function, they come in the form of a new gear type. They don’t have actual stats on them like Power, Mastery, or Critical Rating; instead, they augment how an ability will function. Since this may be a bit confusing, let’s look at some examples of how a Set Bonus and Tactical combination can alter the gameplay of the three Sage Disciplines: Seer, Telekinetics, and Balance.
Seer
“The Seer Sage is the rejuvenation master of Consulars, assisting with an array of Force healing powers that grant allies the strength to continue through even the harshest of encounters. Separated from the heart of the fray, the Seer can be an unfailing warden to those in need.”
Here’s an all too familiar scenario that Seer Sages find themselves in. They want to do an Operation run as one of the healers. Going in, they know that some of their group members get a case of tunnel vision with their DPS desires and don’t always move out of enemy attack paths when they should. Here’s a Set Bonus and Tactical combination that can make healing easier for a Seer Sage.
Set Bonus: “Empowered Restorer”
(2 Piece Bonus) – +2% Power
(4 Piece Bonus) – Benevolence’s critical chance is increased by 10%.
(6 Piece Bonus) – Benevolence heals for 20% more if you have a Vindicate or Amnesty stack and consumes 1 stack upon use.
Tactical: “One For All”
Salvation heals more for each ally it affects.
Our intrepid healer and their group are getting ready to tackle the Titan 6 Boss fight from the Scum and Villainy Operation. During the first phase of this boss, our Seer Sage will need to use a variety of abilities. Healers are in a constant battle of keeping everyone alive without burning through all their Focus before the boss is dead.
One of the mechanics to help Seer Sages with this juggling act is the Vindicate ability. This grants an immediate 40 Force, but applies a Weary debuff on the caster, reducing their Force regeneration for a period of time. This is where the “Empowered Restorer” Set Bonus comes in. If our healer uses Benevolence immediately after Vindicate, not only will the Weary debuff be removed, but Benevolence will heal more, allowing our healer to be bolder with their ability usage!
Once the boss hits 20% health, it starts using two abilities that constantly damage everyone in the group, so our Sage needs to be ready with some intense healing. Normally, Salvation heals everyone within an area over a period of time–but thanks to the “One For All” Tactical we chose, now it gains bonus healing per person in the area, making the job of keeping everyone alive during this prolonged phase of group-wide damage a lot less stressful for our healer.
Telekinetics
“As one with the environment, the Telekinetic Sage manipulates the essence of the surrounding elements with the power of the Force to mount powerful distance attacks. Waves of turbulence and torrential gusts of telekinetic energy make for a potent combination that can pummel even the toughest adversaries into submission.”
A majority of Telekinetics Sages love inflicting their fair share of group damage, so let’s lean into that for this next example. Our up and coming Telekinetics Sage wants to go about their day farming some enemies. To execute this plan more efficiently, they pick out the following Set Bonus and Tactical to maximize group damage potential.
Set Bonus: “Endless Offensive”
(2 Piece Bonus) – +2% Power
(4 Piece Bonus) – Telekinetic Blitz deals 10% more damage.
(6 Piece Bonus) – Energize now stack up to 3 times. Force Speed immediately recharges two Telekinetic Blitz ability charges.
Tactical: “Elemental Convection”
Telekinetic Blitz triggers Tidal Force when activated. Telekinetic Wave gives you Telekinetic Flux, causing your Telekinetic Blitz to arc to multiple targets for the next 10 seconds.
Here stands our example Telekinetics Sage, in front of a swarm of enemies. With telekinetic energy at their fingertips, let’s see how the synergy between the Set Bonus and Tactical plays out. Charging in, they start off with a Telekinetic Wave attack, hitting all targets and giving our Sage the Telekinetic Flux passive. Time to bust out that fancy new ability, Telekinetic Blitz! By using it while the Telekinetic Flux passive is active, Telekinetic Blitz will now arc to those enemies nearby. Our Sage continues using Telekinetic Blitz until the Tidal Force passive is triggered. This passive allows the next Telekinetic Wave to be cast instantly, instead of after its normal cast time.
Once all Telekinetic Blitz charges are depleted, the Telekinetics Sage still has an ace in the hole to finish this off – Force Speed. Using Force Speed at this point will instantly grant our Sage two more charges of Telekinetic Blitz—perfect for finishing off any enemies still lingering around. Nothing is left standing after this devastating combination.
Balance
“There is serenity in balance, and no one knows this better than the Balance Sage. Able to assail multiple targets at once while at the same time absorbing their vitality, the Balance Sage is a formidable presence in long-range engagements.”
We haven’t covered PvP in any of our scenarios yet, so let’s play some Huttball with our Balance Sage, where scoring points is the name of the game. To further show the versatility of Set Bonuses and Tactical item combinations, let’s grab a Set Bonus available to all Consulars, not just Sages. In fact, by going outside of the Sage-only Set Bonus options, our Balance Sage can put together a combination that helps their teammates score easier!
Set Bonus: “Decelerator’s Set”
(2 Piece) – +2% Mastery
(4 Piece) – Force Slow now has 2 charges. Using Force Slow on an enemy already under the effect of Force Slow slows them by an additional 20% and extends the duration.
Tactical: “Slow Mercy”
Force In Balance spreads Force Slow’s effect and Forcequake does 15% more damage to targets affected by your Force Suppression.
Let’s play Huttball! Both teams rush towards the objective, while our Balance Sage stays on the outside of the skirmish to maintain a better view of the fight. Seeing one of their teammates make a break for the Huttball, our Sage gets into position. The moment the teammate picks up the ball, the enemy team swarms them. By putting Force Slow on one enemy and then following up with Force In Balance, all enemies in the area become slowed thanks to the Slow Mercy Tactical. Taking advantage of the opportunity, the teammate makes a break for the goal line.
Being ever watchful, our Balance Sage follows their teammate to the goal line. An enemy somehow caught up and is dashing towards the ball carrier as they near the goal. This is where our Sage reveals their ace in the hole, or in this case, Decelerator’s Set Bonus! By using Force Slow not once, but twice, the enemy is practically stopped dead in their tracks with a 70% slow effect!
We’ve revealed the new ability, discussed Set Bonuses and Tactical items, and painted a picture of how these two systems merge together to augment different styles of gameplay. These aren’t the only Set Bonuses or Tacticals that will be available – they’re a brief sampling of what players will be able to come across. With that, two Advanced Classes are down, and only fourteen to go! In the next article of this “Day In The Life Of” series, we will cover Assassins and Shadows. Stay tuned!


